Google never fails to make a mark in any field it steps in. Pick anything: search engines, email services, WiFi routers, and you’ll see Google as one of the top providers. Its WiFi gives the best speeds and isn’t even that expensive. Therefore, how to set up Google WiFi is a sensible question. Setting it up is quite easy, provided you have taken care of the prerequisites. You don’t have to be a technical person.
You just need Google WiFi points, a Google Account, the Google Home app, internet service, and a modem.
Google will take care of the other requirements like Ethernet cable for the primary point and power adapter for each. So, if you’re ready to start setting up, keep reading!
Learn How To Set Up Google WiFi Router To Speed Through the Web
As mentioned earlier, the process to set up Google WiFi routers isn’t hard or too technical. But if you miss a step, you might find yourself with a frustrating error, forcing you to get technical help. So, pay close attention to this section, and you’re good to go.
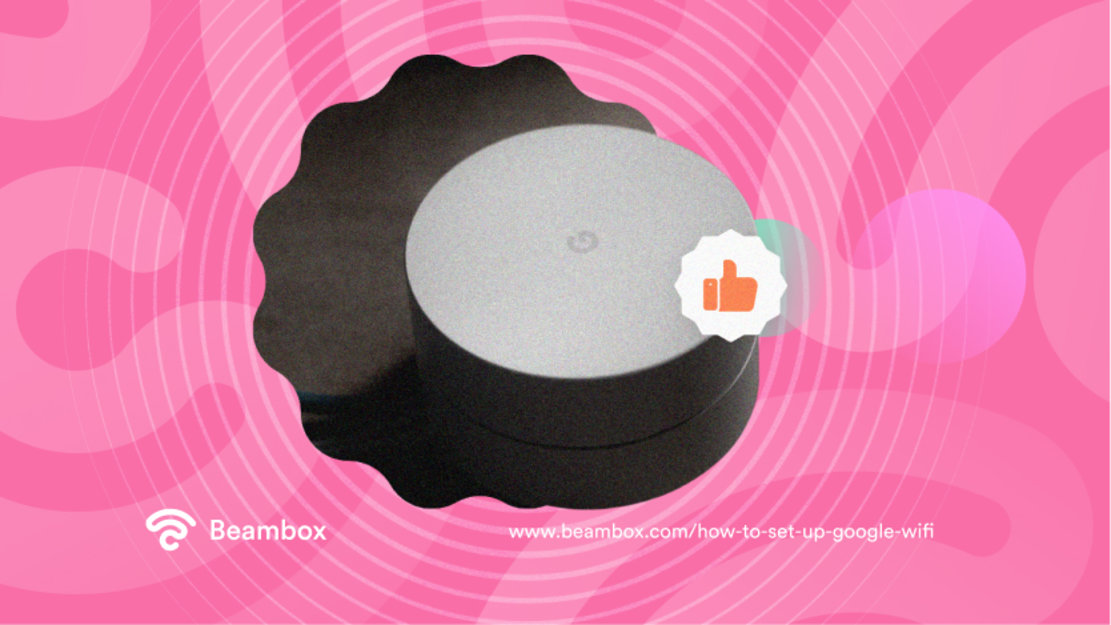
The first step is to choose an appropriate place for your primary WiFi point. If you’re not sure what makes a place appropriate, head over to the last section of this article.
Once you’ve chosen a place, connect the point to your internet modem and plug it into a socket.
In about 90 seconds, the light will turn blue. This is your cue to start the process of setting it up using the Home app. So, open the app on your phone or tablet and go to “Devices.”
Click “Add,” then choose “New Device.” Now, you should be able to select your home and scan the QR code on your device. Remember, your app will automatically detect all the devices available for connection. If you see multiple devices, go ahead and choose your primary access point.
From there, all you need to do is give a name to your network and set up a password. Then, follow the prompts to finish the setup process, which might require a few minutes, so be patient.

How To Set Up Google WiFi Points and Expand Your Reach?
Now that you know how to set up Google WiFi, you might want to expand your reach. One way is to add more access points to your existing WiFi network. Remember, these points cannot belong to a WiFi device other than Google WiFi.
Start by connecting the power cable to each extra point. Then, use the adapter to plug them in, just like you did with the primary point.
Once you’ve plugged in the new points, the Google Home app will automatically detect them. Scan the QR code at the bottom of your device and follow the prompts.
After connecting all your devices, the app will conduct a mesh test to see if your network is working properly. And that concludes our discussion about how to set up Google WiFi points.
The New Connectivity: How To Set Up Google Mesh WiFi?
While Google WiFi has one of the best speeds, it isn’t prone to interfering factors. Being far from the router or using too many devices in an area can lower the speeds. Also, having thick walls or metal appliances in the router’s proximity, you might find yourself longing for better speed.
Then how do you avoid these interferences? Mesh networks are the best remedy for this. Here, multiple devices connect to create a single network.
Now, because there are multiple devices, the network is stronger and can beat the interference.
The next question on your mind should be, “How to set up Google mesh WiFi?” Well, it’s the same process we discussed in the previous section: adding more points to your primary router.
Since multiple points will work, and each point will give out its signals, the network will become mesh.
However, you must remember that you can only add Google Nest WiFi or Google WiFi router and points. Other routers such as Cisco, Linksys, or Netgear are not compatible with it and hence won’t work.
How To Set Up Google WiFi Extender, Is It Even Possible?
Even if you’re only vaguely familiar with technology, you must have heard about WiFi extenders at some point. Do the words WiFi boosters and range extenders ring a bell in your head? Then you have definitely heard of it.
But if you haven’t, it’s a device that takes your router’s signal and repeats it to cover a wider area. With these devices, you can bring internet connection to dead zones where the signal doesn’t quite reach.
Normally, you can connect a wireless range extender to Ethernet ports of existing networks through Ethernet cables.
But when it comes to Google WiFi, you can’t use it as an extender. After all, it can already create a Google WiFi mesh network with multiple devices. Why would you want to add cables when you can manage everything without a mess?
Besides, it doesn’t work with any other router. So, the answer to “How to set up a Google WiFi extender?” is nonexistent. If you feel the need to extend your Google WiFi range, just add more points using the steps mentioned earlier.

Make the Most of Your Google WiFi To Never Feel the Need for Speed
By now, you must have a clear understanding of how to set up Google WiFi. The process is quite easy, and you can add additional points to create a mesh network.
Doing this, you’ll make an already fast internet even faster and reach a wider area. However, placing your router in the wrong place can have the opposite effect. No matter how many devices you connect, if it isn’t in the right place, it will barely work.
Therefore, mount your router in a central position on a wall or ceiling. This position will allow it to cover a larger area.
If you run a business and want to improve your marketing results, try Beambox. This WiFi marketing platform can help you automate your campaigns and grow your online reputation. Start your free trial today!
Get Started With Free WiFi Marketing
Beambox helps businesses like yours grow with data capture, marketing automation and reputation management.
Sign up for 30 days free
