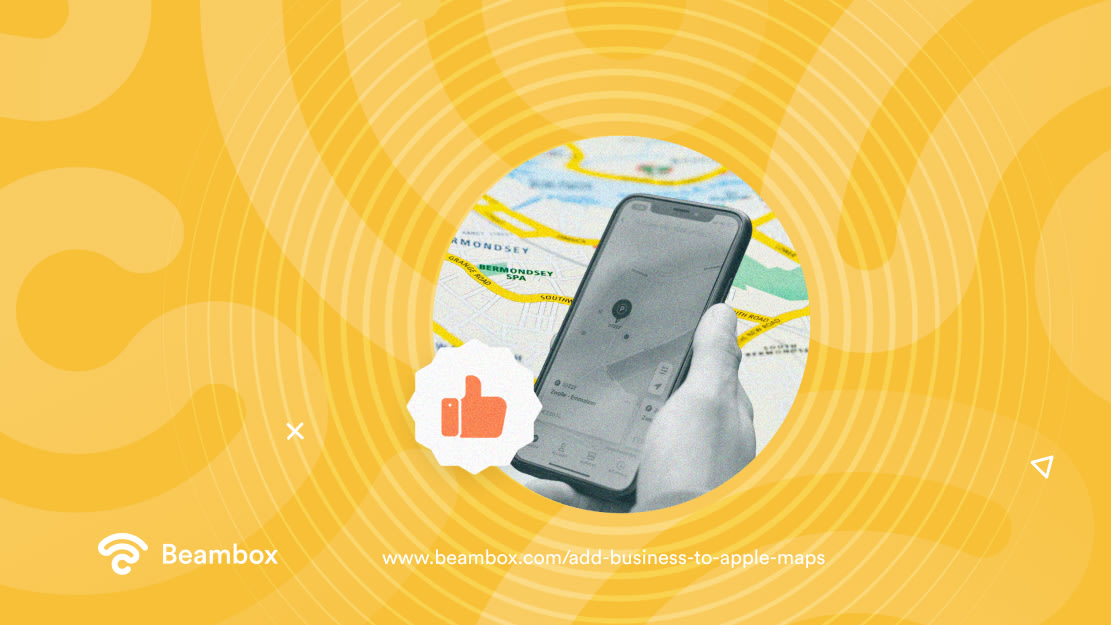
One of the first things businesses do for local SEO is to add the venue to Google Maps. But what they don’t realize is that there’s a large iPhone audience waiting for them on Apple Maps as well. Since you’re here, it means you’re not neglecting to add business to Apple Maps.
That’s a wise move because almost every Apple user heads over to Apple Maps whenever they want to buy something. Therefore, they must see your business there when they want something that you offer.
And the good news is adding a business to Apple Maps is not at all difficult. You just have to follow some simple steps that we’ll elaborate on in this article.

Is It Worthwhile To Add Business to Apple Maps?
Before learning how to add a business to Apple Maps, it’s important to learn its importance. This information will not only motivate you to add yours but will also help you measure the results.
After all, if you don’t know what you want to achieve, how can you know whether your strategy is working? So, here’s why adding your business to Apple Maps is worthwhile.
Firstly, when it comes to local SEO, only a few options are both free and easy. But lucky for you, Apple Maps is one of them. It lets you add your business to over 1600 business categories.
Some people argue that Google Maps has a larger customer base than Apple. While that’s true, who doesn’t want a few extra customers without spending a single dollar?
In fact, 1.46 billion people around the world actively use iPhones. Then there are other connected devices such as Apple Watch, Macbook, etc. So, you can get a huge chunk of this statistic by appearing on Maps.
Secondly, you can share accurate information about your business. When you add a business there, it will ask you to enter things like business locations, business phone numbers, etc. Moreover, you can easily update your information whenever you make changes.
Lastly, customers can make a list of their favorite places on Maps and share it with other people. Through their word of mouth, you get more and more customers.
How To Add a Business to Apple Maps?
Now that you know why it’s important to add your business on Apple Maps, let’s jump to the process.
As mentioned earlier, the app will ask you to enter some information. So, note down your complete business information and make sure it is accurate. Once you have that, here’s what you need to do:
- If you haven’t already, create an Apple ID.
- Add your name, email, etc., and create a strong password that keeps your ID safe.
- Log in to your account by using your credentials.
- Head over to Apple Maps Connect.
- From there, select your language and notification preferences. Opt-in to receive updates since Apple regularly releases better versions.
- Apple may already have your business listed on the map. So, search to see whether this is the case or not.
- If you find your business listing, you must claim it. We’ll talk about this process in the next section.
- But if you don’t find it, click on “Add new place.”
- Now, it’s time to use the business information you noted down earlier. Follow the prompts to add the complete and accurate information.
And that’s it; you’ve added your business to Maps on the Apple network. However, you might need to verify your listing, so head over to the next section to learn how.

How To Claim Your Business on Apple Maps?
If Apple has already listed your business on Apple Maps, you must follow the process of claiming it. Again, Apple has made this really easy. Just follow these steps, and you’ll have claimed your business in no time.
- Head over to the Apple Business Connect website.
- Log in using your Apple ID.
- Look up your business by its name or address. If it’s not there, follow the steps in the above section.
- If it’s there, go through the information and see if it’s correct or not. Change it if you find errors.
- Next, claim your listing by clicking “Verify Ownership” after you’ve checked out the details.
- Then, mention your name as the main contact for the page.
- You’ll get a prompt to verify by phone. Just hit “OK,” and you’ll get a quick automated call from Apple.
- They’ll give you a code to enter on the verification screen.
- Once Apple verifies your listing, expect an email confirming your verification.
- In some cases, Apple might ask for additional verification. But it shouldn’t take more than 4 to 5 days to verify your business.

Optimize Your Listing To Get the Best of Local SEO
Once you’ve added your business, your work doesn’t end there. You have to take some measures to optimize your Apple listing to get the best results.
Apple usually takes your information from Yelp and other local review sites. If any information is inaccurate there, it will be inaccurate on Apple Maps as well. So, you must keep all of your business listings consistent and update them regularly.
Moreover, make mindful efforts to get more reviews on Yelp. Again, that’s where most reviews come from. Give the best customer service and let people know you’re accepting reviews on Yelp.
Lastly, Apple users love using Siri and usually ask the voice assistant to pull the things they need.
Therefore, you must optimize it for voice search by using keywords that people use to search your business through Siri. Some examples of these keywords are, “How far is the nearest fast food chain?” “The best ice cream near me.”
At this point, you should have a clear idea of how to add business to Apple Maps. If, instead, you want to scale your marketing results with data and automation, try out Beambox. It’s a WiFi marketing platform that is helping over 12,000 venues to get more customers and revenues. You can try it for free for thirty days. Start your trial today!
Get Started With Free WiFi Marketing
Beambox helps businesses like yours grow with data capture, marketing automation and reputation management.
Sign up for 30 days free
